


Are you considering making the switch from oil to propane heating? With rising energy costs and a growing emphasis on cleaner energy sources, many homeowners are opting for propane as a more efficient and environmentally friendly alternative. Switching from oil to propane can seem daunting, but with proper planning and execution, the process can be straightforward. This guide will walk you through each step, ensuring a smooth transition to propane heating.
Why Switch from Oil to Propane Heating?
Before diving, it's essential to understand the benefits of switching to propane:
Efficiency: Propane heaters typically have a higher efficiency rating than oil heaters, meaning you'll get more heat for less fuel.
Environmental Impact: Propane burns cleaner than oil, reducing your carbon footprint and contributing to a healthier environment.
Cost Savings: Propane systems often require less maintenance and have lower operational costs, potentially saving you money in the long run.
Convenience: Propane is a versatile fuel that can be used for heating, cooking, water heating, and more.
Step 1: Evaluate Your Current Heating System
The first step in switching from oil to propane is to evaluate your current heating system. Understanding your existing setup will help you determine what changes must be made.
Age of the System: If your oil heating system is old, it might be time to upgrade to a more efficient propane system.
Condition of Equipment: Assess the condition of your oil tank, furnace, and other components. Some may need to be replaced or modified for propane use.
Fuel Usage: Analyze your current oil usage to estimate how much propane you'll need.
Step 2: Consult with a Professional
Switching from oil to propane involves several technical aspects, so it's essential to consult with a certified HVAC professional. They can help you with:
System Compatibility: Determine if your existing furnace can be converted to propane or if you'll need a new unit.
Tank Installation: Decide on the best location for your propane tank and arrange for its installation.
Permits and Regulations: Ensure you comply with local building codes and obtain any necessary permits.
Step 3: Choose the Right Propane Supplier
Selecting a reliable propane supplier is crucial for a successful switch. Consider the following factors when choosing a supplier:
Reputation: Look for a supplier with positive reviews and a solid reputation in your area.
Pricing: Compare prices from different suppliers, considering both the cost of propane and any additional fees.
Services: Choose a supplier that offers delivery, maintenance, and emergency services.
Tankfarm can you help you find the best supplier for you, learn how.
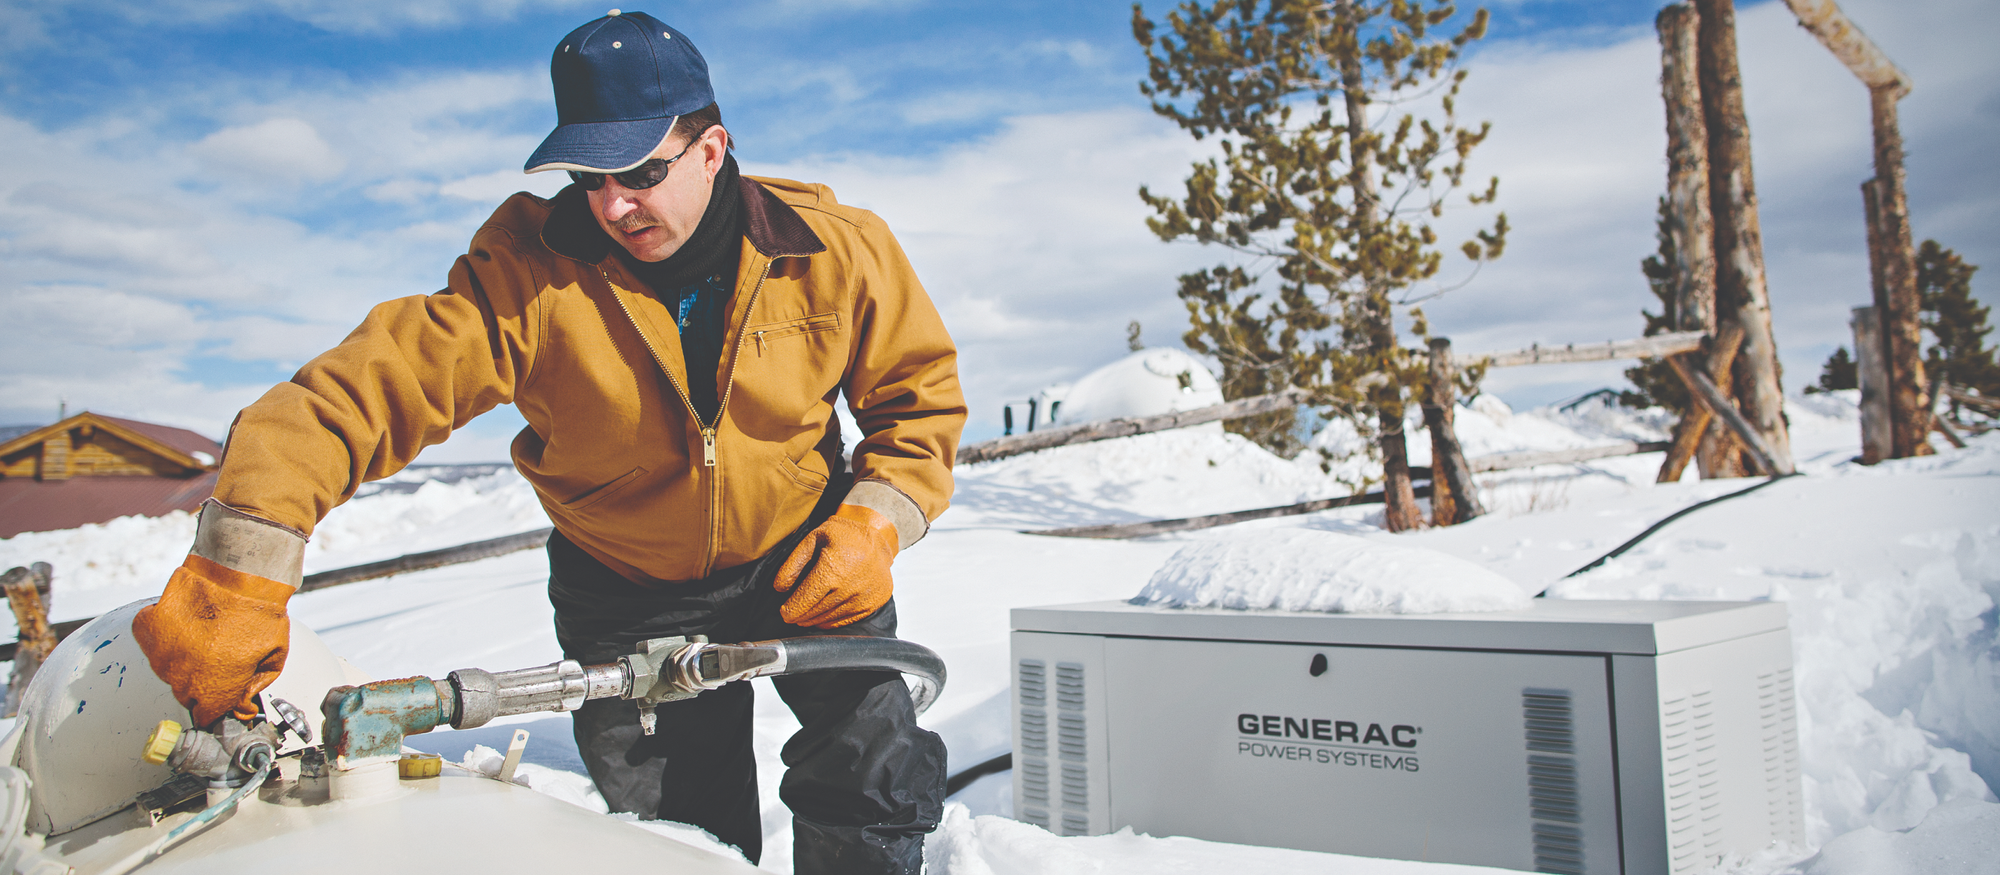
Step 4: Install the Propane Tank
Once you've selected a supplier, the next step is to install the propane tank. Some suppliers, such as Tankfarm, provide rent-free tanks to its customers. The installation process typically involves:
Site Preparation: Clear the area where the tank will be installed, ensuring it meets safety guidelines.
Tank Placement: The propane tank can be installed above or below ground, depending on your preference and local regulations.
Connection to the System: The tank will be connected to your heating system by a certified technician, ensuring everything is up to code.
Step 5: Convert or Replace Your Heating System
Depending on your current setup, you may need to convert your existing oil furnace to propane or install a new propane furnace. Here's what to consider:
Conversion: Some oil furnaces can be converted to propane by replacing specific components. A professional can assess whether this is a viable option for you.
New Installation: If conversion isn't possible, you'll need to install a new propane furnace. Modern propane furnaces are highly efficient and come with advanced features for better control and comfort.
Step 6: Test and Inspect the System
After the installation, it's crucial to test and inspect your new propane heating system to ensure it's working correctly.
System Test: A professional will test the system to verify that it's operating efficiently and safely.
Leak Inspection: The technician will check for any gas leaks or other issues that could pose a safety risk.
Final Adjustments: Any necessary adjustments will be made to optimize performance.
Step 7: Maintain Your Propane Heating System
Regular maintenance is key to keeping your propane heating system running smoothly and efficiently. Here’s what you should do:
Annual Inspections: Schedule annual inspections with a professional to check for wear and tear, clean components, and make any necessary repairs.
Monitor Fuel Levels: Keep an eye on your propane levels to ensure you never run out of fuel, especially during the cold months.
Filter Replacement: Replace the furnace filters regularly to maintain air quality and system efficiency.
Conclusion
Switching from oil to propane heating is an investment in your home's comfort, energy efficiency, and environmental responsibility. By following this step-by-step guide, you can make the transition smoothly and enjoy the benefits of propane heating for years to come. In Connecticut, Tankfarm is able to make this transition for its prospective members, seamlessly. Whether you're looking to reduce your carbon footprint, save money, or simply upgrade your home’s heating system, propane is an excellent choice.